

Apple utilizes its cloud storage service iCloud to make photo available on both computer and iPad which are taken by your iPhone it is very useful service to have without the need of any cable .But what about if you wanted to transfer your photos from pc to iPhone , is it possible? of course yes but that depends upon what iOS software version you are using .
If you are running a iOS 8 , the process is very simple due to Apple made some changes on its iCloud service and iOS operating system means users can upload there photos from icloud website we will talk about this situation in below section . But what about iOS 7 or older version users ?
Don’t worry about that there is so simple solution for that all you have to do that install iCloud for windows basically there are two version of iCloud Control Panel . If you are running Window Vista with service pack 2 you can download the iCloud Contorl Panel for this version.If you have Windows 7, Windows 8 or 10 you have to download latest version of iCloud Control Panel. We will tell you in detail about these two versions in below section .
How to Transfer Photos From PC to iPhone (For iOS 8 version):
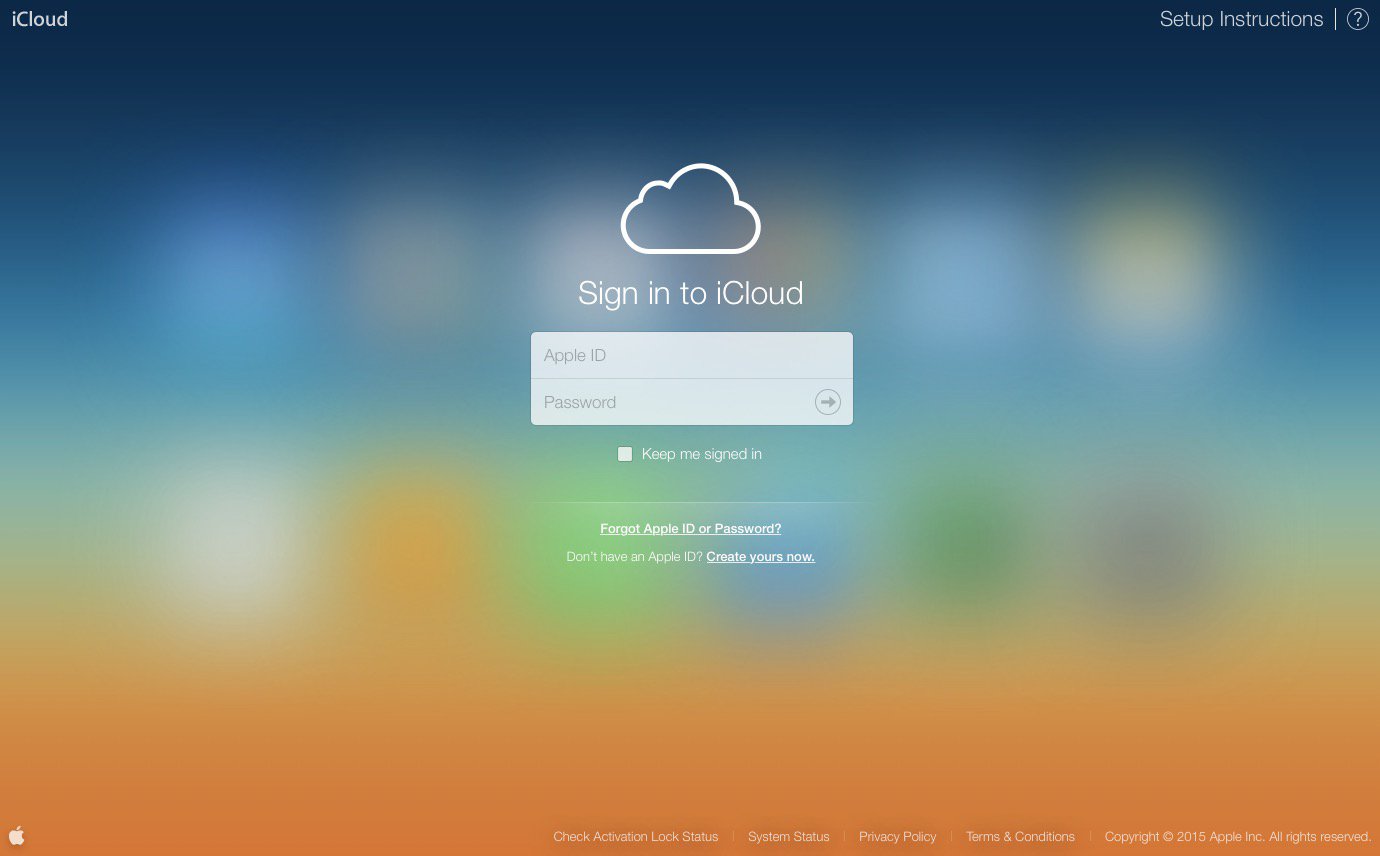
Step 1:Go to iCloud.com to transfer photos from PC to iPhone .The first thing you need to do that simply open your web browser and navigate to iCloud.com and enter you Apple ID details in login area.
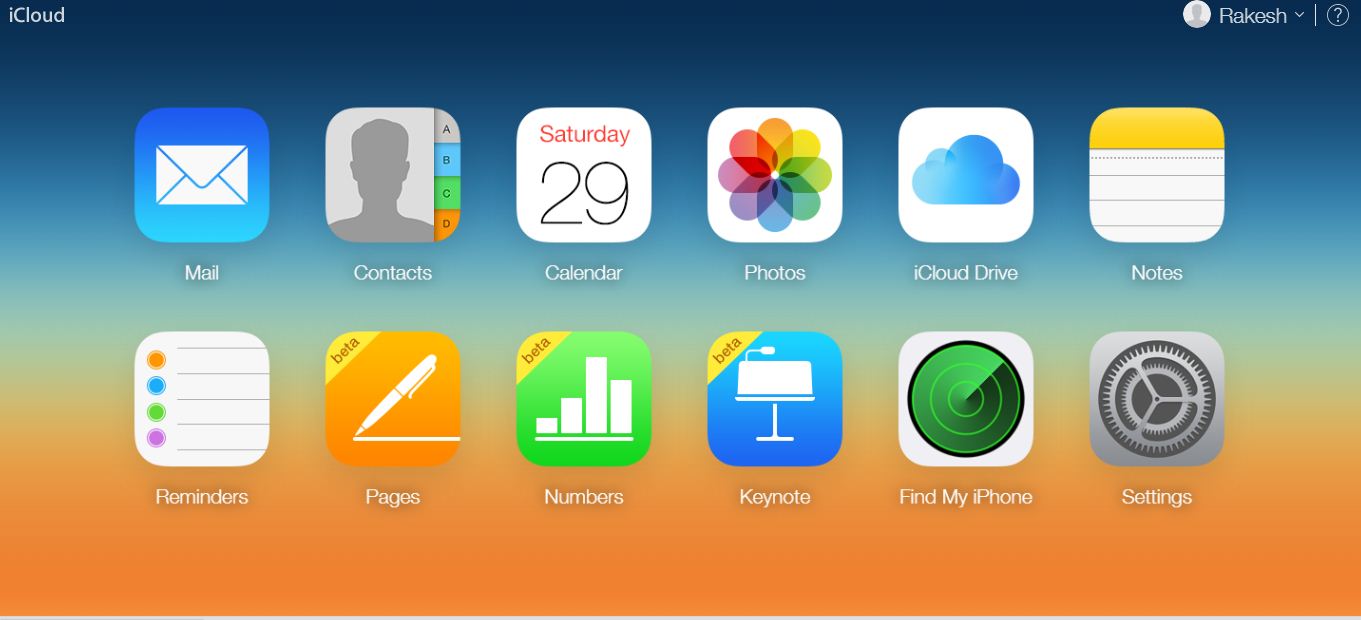
Step 2:Once you are logged in iCloud website clicks on the Photos icon which will be located in first row of apps.If you are first time accessing you photo library , you will have to go through first time set up .it may takes some time to load if your photo library is too large so do not be panic.
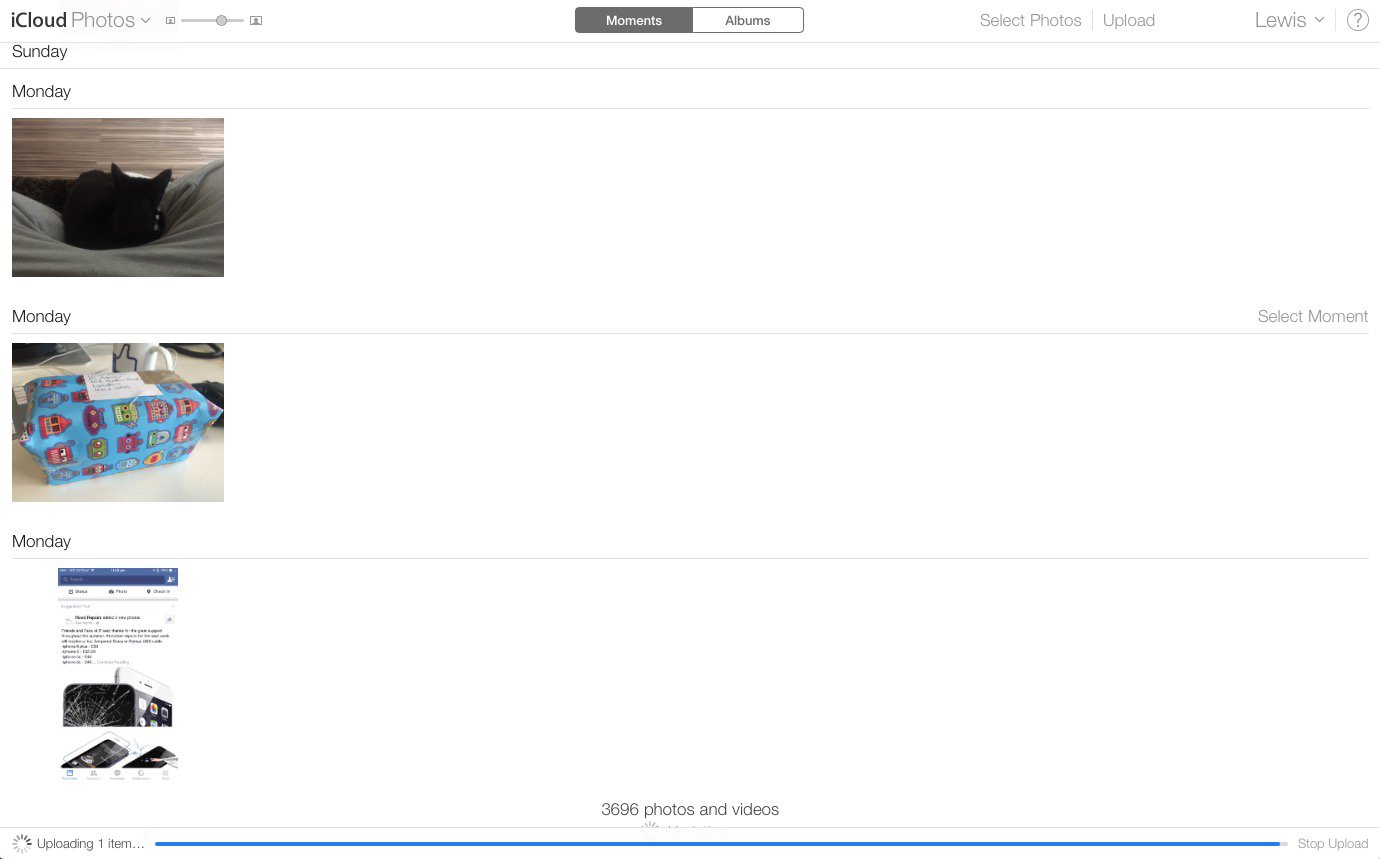
Step 3: Once you have opened the photo library app you will see a upload icon in upper right corner of the web page click on this to upload photos from your Computer to your iPhone .If you want to upload multiple photos at time, hold CTRL key and click on each photo.
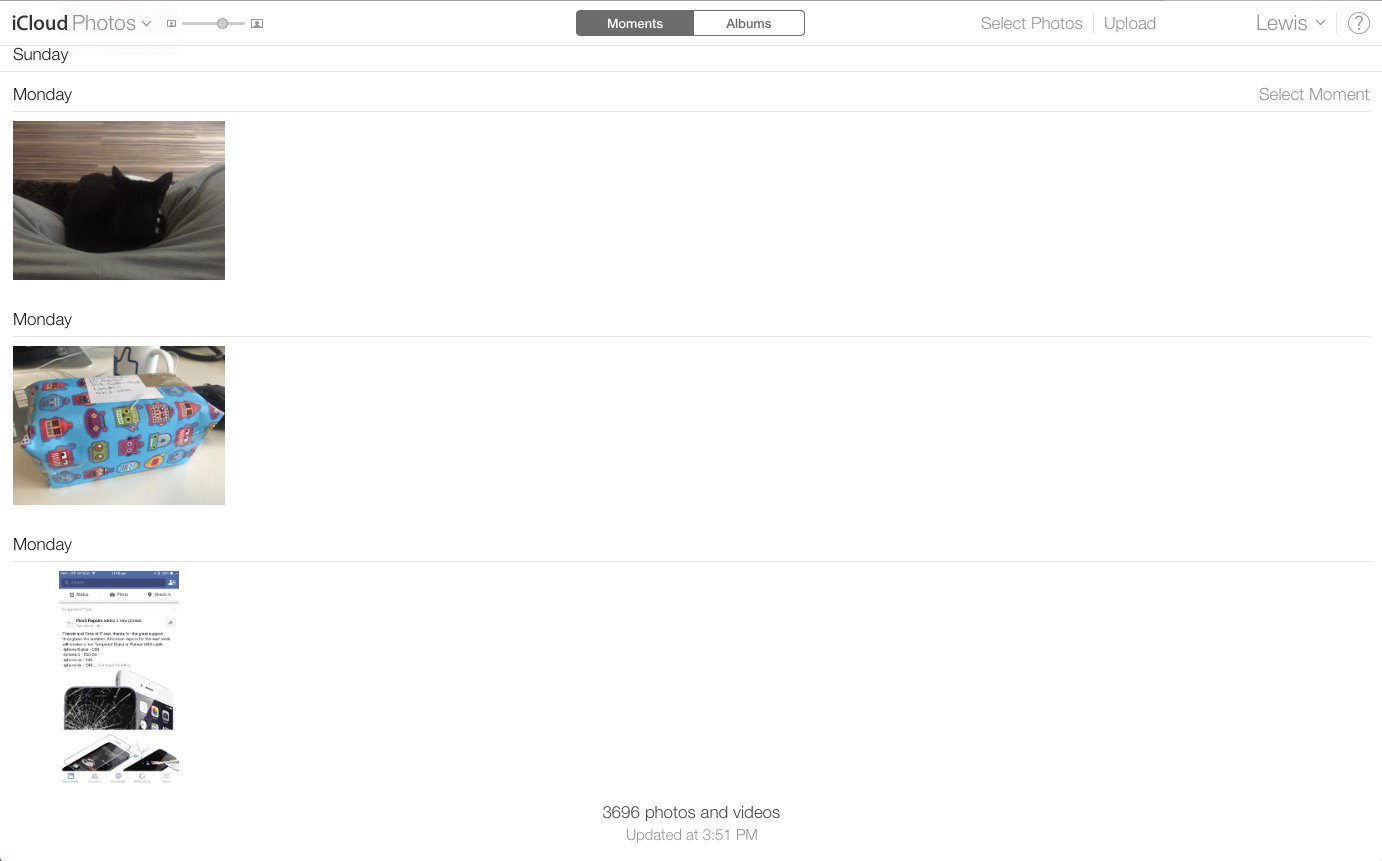
Step 4: Once you have selected the photos to add to your iPhone click open and they will be uploaded to your iCloud Photo Library , you will see a prograss bar on bottom of the page for transferring photos.
Step 5:Once the photos uploaded to iCloud library they should also appear on the Photos app of your iPhone if you have enabled iCloud connected by Wi-Fi.The photos will displayed in chronological order (According to Time) .
But if you are using iOS 7 or older OS , this method will not work for you so will look into this in below section.
How to Transfer Photos From PC to iPhone (For iOS 7 and Older version)
If you already install the iCloud Control panel as we discussed above so here are the steps after that.
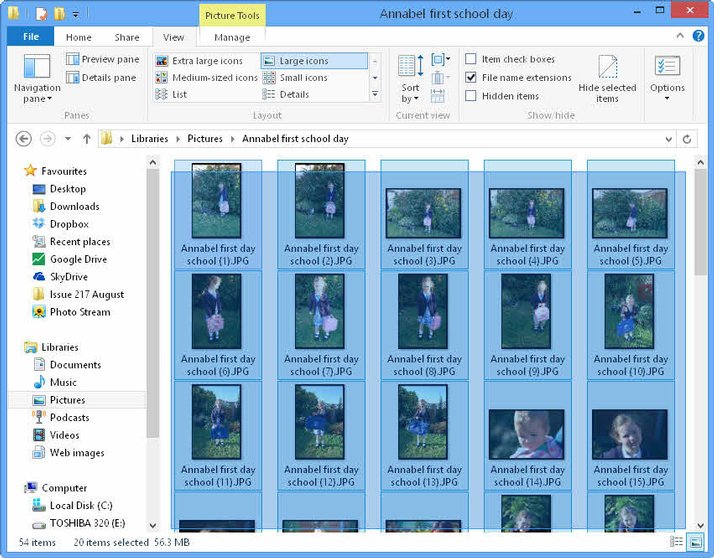
Step 1:In your computer open the folder where your photos are reside and want to transfer them in your iPhone . Go to that folder select each photo and right click on them choose copy option.
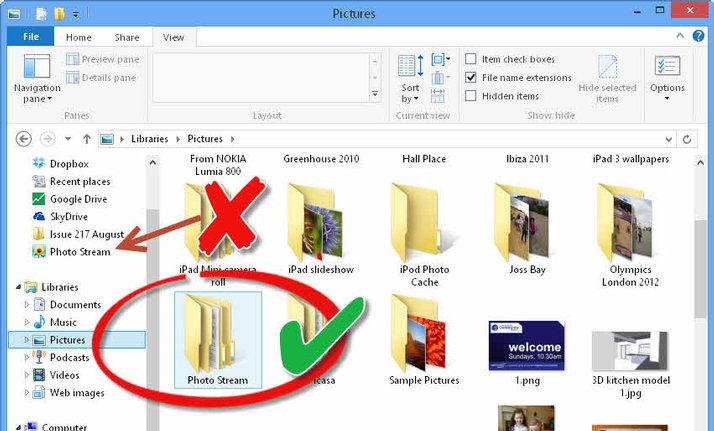
Step 2:Navigate to the picture folder in Windows and find the photo stream folder which is created during iCloud Control Panel installation double click on this folder to view its content (please do not clik on its shortcuts icon as it will not uploads photos).
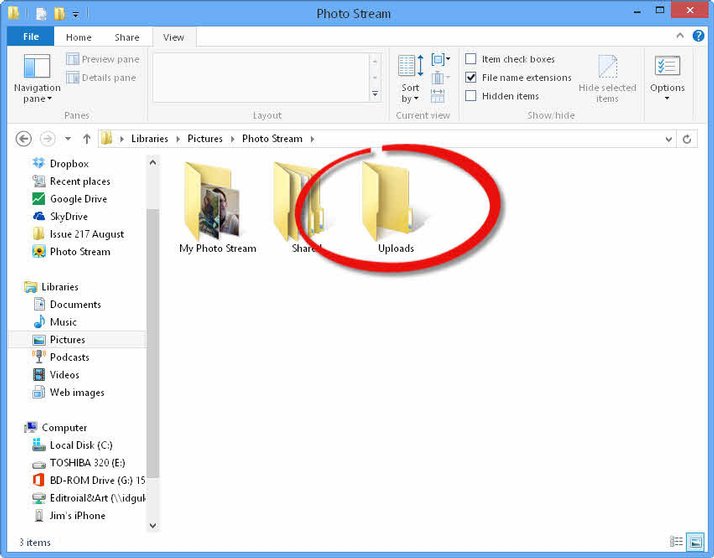
Step 3:Open the upload folder within upstream folder and paste all those photos in this folder.
Step 4:Shortly your photos will be appear on your photo stream within the photo app of your iPhone and all the photos will be seen in chronological order (According to time).In iOS 7 photo stream is called by My Photo Stream and remain in Albums section at the bottom.
You can upload photos in the format of JPEG , TIFF , PNG and also support most of the raw camera format. If you know any other solution regarding this problem please submit your thoughts on comment section below.
")

